With a simple circuit board design and a size no bigger than a credit card, Raspberry Pis run faster than a PC and power simple applications as well as large home theatres. Add in a case, and the single-board computer will not only be prevented from overheating — it’ll also look great. The best part? It can even be 3D printed! Here’s a guide on Raspberry Pi Cases and 3D Print.
What Is Raspberry Pi in 3D Printing?
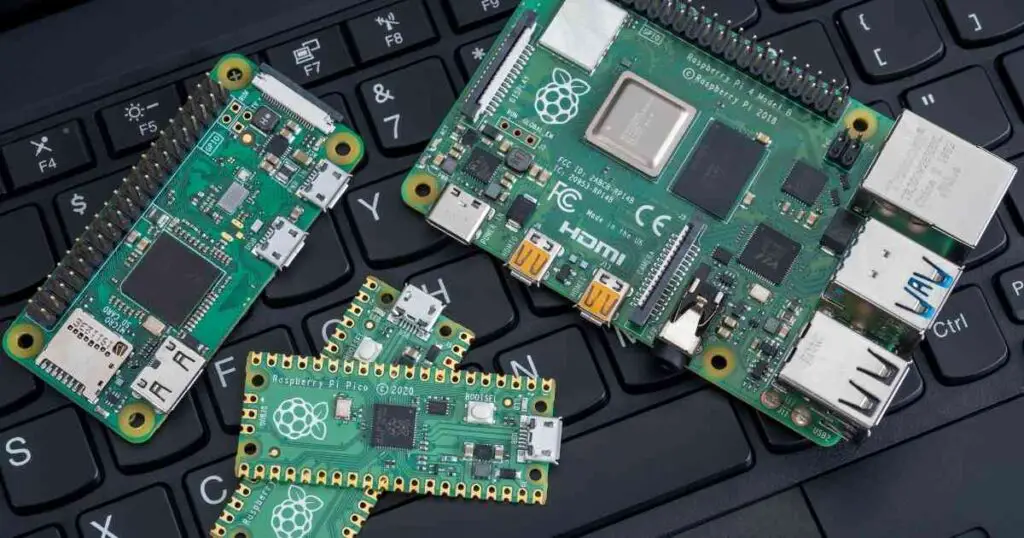
A Raspberry Pi is characterized by its classic small form factor and easy accessibility. All you need to run a Raspberry Pi is a simple USB charger and an SD card for storage.
Its fast processing power and easy Wifi and Bluetooth connectivity allow manufacturers to use it for 3D printed projects that require a computer but can’t use a PC.
Raspberry Pi has been used to turn simple 3D printed glasses into a wearable computer, integrated in wireless speakers for WiFi connection, and even installed in 3D-printed telescopes with an infrared camera for low-cost manufacturing and astrophotography.
Raspberry Pi, a simple circuit board, has even been used to power 3D-printed ventilators and a 3D-printed Martian rover.
Do Raspberry Pis Need a Case?
In short, yes, a Raspberry Pi does need a case. Although it is no larger than an adult-sized palm, covering the RasPi up with a case protects the model from external shocks, keeps it cool through built-in fans, and gives it a chic appearance, faster processing, and better functionality.
What Is a Raspberry Pi Used For?
You can use a Raspberry Pi for a variety of projects such as:
- A Kodi media center
- An OctoPrint-compatible device for live 3D-print monitoring
- A desktop PC (when attached with an HDMI cable and a display)
- A gaming device
Can You 3D Print a Raspberry Pi Case?
Yes, it’s possible to 3D print a Raspberry Pi case. It is more cost and time-effective to make it than to purchase one (unless you’re buying a 3D-printed RasPi case). This is because, for all nine models of Raspberry Pi, there are as many cases on the market as there are pixels, making it hard to find and choose one.
What Raspberry Pi Should You Buy for 3D Printing?
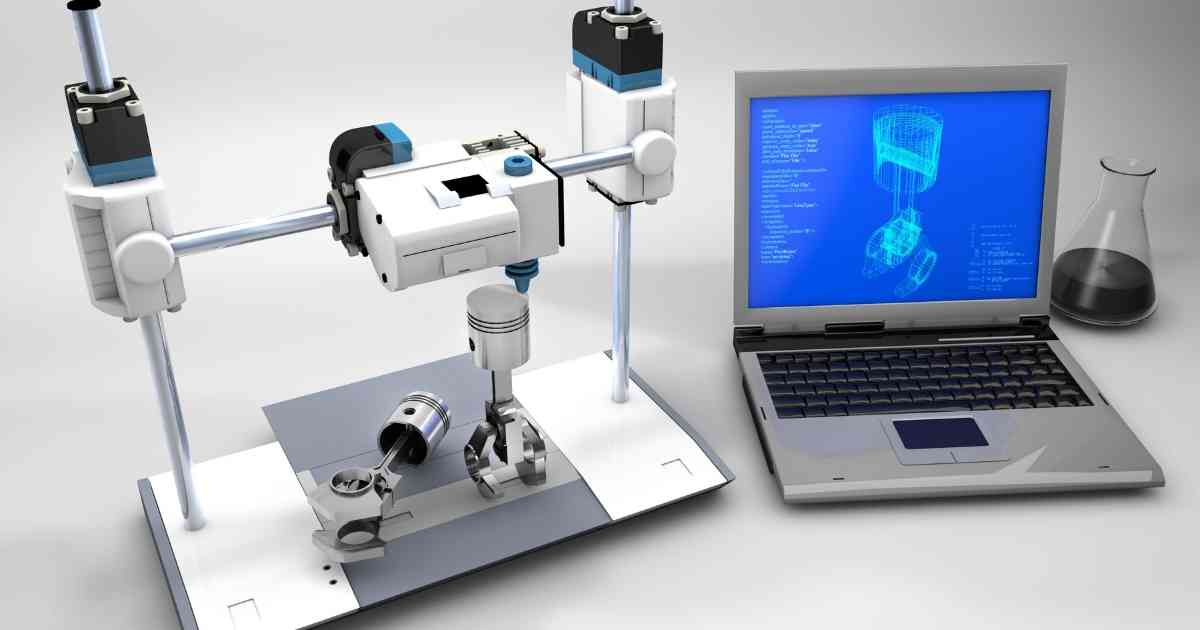
3D printing has become extremely popular for its unlimited functionality, but its control board actually restricts makers from using it to its full benefit. Integrating it with a Raspberry Pi model allows users to install software like OctoPrint for real-time monitoring of the design while seated anywhere in the world.
For OctoPrint, it’s recommended to use Raspberry Pi 3B, 3B+, or 4B, as these industry-leading models offer incredible processing, great loading time, and error-free 3D printing.
All you need is a 4GB SD card for storage, a simple USB phone charger to plug the RasPi in, and a 5V power supply to run it effectively.
How to Set Up a Raspberry Pi to 3D Print
To set up a Raspberry Pi on your 3D Printer, you’ll need:
- A micro-SD card for storing files and software
- A USB-B and a USB-A cable
- A 1 Amps or 2 Amps adapter
Now that you’ve gathered all the main things you need to set up your RasPi, here’s what to do next:
- On a web browser, go to OctoPrint and download the software
- Hook the SD card up to your PC or laptop so it acts as a drive
- Unzip the downloaded folder and collect the image file
- Then, on the web browser, go to Etcher and download the application
- Unzip the downloaded folder and run the application
- Open Etcher, then go to your main desktop folder usually labeled as ‘My Computer’
- From the downloads menu, select the image file unzipped from the OctoPrint software
- Transfer the image directly to the SD card attached
After downloading the OctoPi software and the Etcher application, you’ll need to make a few changes to the ‘code’ text of the OctoPi file so your Raspberry Pi can run effectively with the 3D printer. Here are some considerations to keep in mind:
- On a PC, open up the downloaded OctoPi file in notepad++ instead of notepad
- On a Mac, open up the downloaded OctoPi file in Text Edit
With the text string in front of you, make sure to select ‘plain text’ in preferences and minus ‘quotes’.
Scroll down, and you’ll see ‘WPA/WPA2 secured’. This is where you’ll enter your WiFi password so the RasPi can run with WiFi. To unlock commenting, erase the hashtags at ‘put ssid here’ and ‘put password here’. Then, save and eject the microSD card.
It’s finally time to set up the RasPi with the 3D printer. Here’s what you need to do:
- Connect the USB-A cable to the 3D printer
- Join the USB-B cable to the Raspberry Pi
- Insert the microSD card into the built-in slot in RasPi
- Lastly, connect a micro-USB cable to the RasPi and it’ll turn on
When the Raspberry Pi is active, open up the OctoPrint local browser and go through the setup wizard. Check if the WiFi on the Raspberry Pi has been connected.
If you’ll be connecting a webcam to live stream your 3D prints, power down the OctoPi after installing the webcam. Then, from the control tab, you’ll be able to monitor everything perfectly.
Frequently Asked Questions
How big is a Raspberry Pi case?
It usually depends on what model of Raspberry Pi you have. For example, a case for Raspberry Pi 3 has dimensions of 0.4 x 1.1 x 1.49 inches. This covers the 2.22 in (height) x 3.37 in (width) of the Raspberry Pi 3 perfectly, protecting the credit-card-sized computer and giving it an attractive look as well.
How expensive is a Raspberry Pi?
You can get a Raspberry Pi for as low as $35. The price varies with the shapes and sizes of different models. The best part is if you do decide to upgrade, Raspberry Pi software is backward-compatible, i.e works created on new models can be made on older ones as well.
Can you run Windows on Raspberry Pi?
Yes, Windows can run on Raspberry Pi by installing Windows 10 IoT Edition. If you’d like to emulate Windows on the Raspberry Pi without installing Windows OS GUI, you’ll need to integrate compatibility layers like Wine that can work in a Raspberry Pi OS’s Linux environment. However, if you’re only after the Windows classic look, installing a similar-themed Linux skin on a Raspberry Pi is a much better option.
Final Thoughts
Raspberry Pis are quite reliable and operate as fast as a PC when they have a good quality power supply and storage available. Protecting a Raspberry Pi with a case keeps it from overheating and makes it more aesthetically pleasing. After looking through the guide, there’s no need to run to the store — you can 3D Print a Raspberry Pi case from the comfort of your own home.

Claudio Sabato is an IT expert with over 15 years of professional experience in Python programming, Linux Systems Administration, Bash programming, and IT Systems Design. He is a professional certified by the Linux Professional Institute.
With a Master’s degree in Computer Science, he has a strong foundation in Software Engineering and a passion for robotics with Raspberry Pi.