As technology improves with time, computers aren’t limited to our desks anymore. They are in our hands as mobile phones, in our ears as Bluetooth headsets, wrapped around our wrists as smartwatches, and with a DAKboard connected with Raspberry Pi, they’re on our walls as interactive displays! Here’s an intro to the revolutionary DAKboard Raspberry Pi.
What Is a DAKboard?
DAKboard is advertised as a web interface or a monitor-like display that allows you to sync and see your calendar, the local weather, any breaking news, and even your gallery of photos.
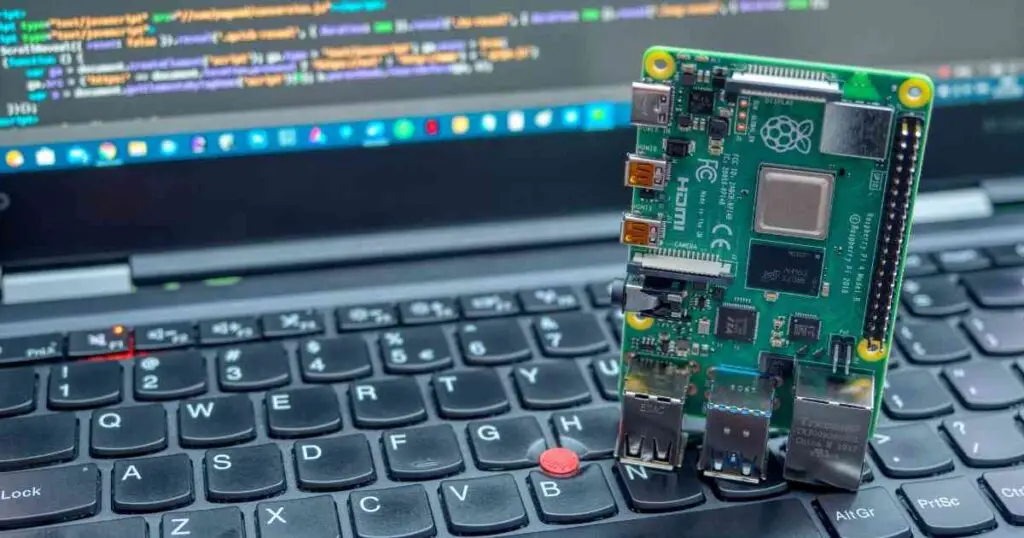
It hooks up to a small-board computer called the Raspberry Pi that is no larger than a credit card and connects to your WiFi and Bluetooth for an interactive wall display.
What makes it truly worthwhile is its easy personalization. The calendar display on the DAKboard can be viewed as an ‘agenda’ where schedules, events, and times can be viewed (in different colors too) or as a ‘monthly view’ that shows the weeks, days, and dates.
Connected to WiFi, a DAKboard can even run applications like Google Photos or social media browsers like Instagram to turn a simple frame into an interactive photo wall. You can also use it as a theater-like screen to view an album with family!
The DAKboard is accessible via any digital device, from a mobile phone or a tablet to a laptop or a PC. Since the RasPi is already fitted with an SD card slot, the DAKboard does not require any add-ons and can be installed easily.
What Can You Do With a DAKboard?
A DAKboard can be used in a variety of ways — all it needs is a plain wall to be hooked onto. From offices and hotels to restaurants and homes, a DAKboard works everywhere. Here are a couple of areas it works best in:
- As a signage board in large-scale businesses that get a lot of foot traffic
- As a wall calendar for work-from-home family members
- As an interactive art display at a museum or an artist’s studio
- As a digital photo frame in a hospital to view X-rays and patient reports
- As a music player to impress friends at a party
- As a smart home dashboard to view upcoming events or scheduled calls
A DAKboard, especially when hooked up to a Raspberry Pi, gives users the freedom of turning any wall into an interactive smart dashboard, radio, or even a smart TV.
It connects to TuneIn and ShoutCast free of charge to play music, and if you connect it to the DAKboard CPU, it’ll turn any TV into a smart LED/LCD by enabling WiFi.
With a little effort in installation, you can essentially have a calendar, music player, digital photo frame, signage board, and even a smart TV!
How Can You Get the DAKboard on a Raspberry Pi?
Setting up DAKboard on a Raspberry Pi is easy and you can do it from the comfort of your home. First, get a Raspberry Pi that is compatible with the DAKboard. Here is a list of RasPi models that you can choose from:
- Raspberry Pi Zero 2W
- Raspberry Pi 3A+
- Raspberry Pi 3B
- Raspberry Pi 3B+
- Raspberry Pi 4B
After picking your choice of RasPi variant, you are all set to connect the DAKboard to it. Here is everything you’ll need to do this:
- A microSD card (at least 4GB)
- A consistent source of power supply
- A 1 Amp or 2 Amp adapter
- WiFi or Ethernet cable
- HDMI cable
- Display screen or monitor
Now that you have everything, let’s set up the DAKboard so it can be configured with the Raspberry Pi. As it is a web interface, the DAKboard software works through a website account.
- Open up the DAKboard website and create or log in to an account
- After completing the sign-up process, go through the next steps highlighted on the website
- Make sure to add in your time and location so the DAKboard can display local weather forecasts and news reports
Then, to be able to connect the Raspberry Pi to the DAKboard, you’ll need a specific URL. Here are all the steps you need to do:
- On the DAKboard website, after logging in, click on the ‘Displays and Devices’ option in the sidebar
- Click on the green ‘Add a Display’ button
- On the pop-up displayed on the website, click on ‘Add Your Own Device’
- Set up a name for your device of choice (in this case a Raspberry Pi)
- Then, assign a screen. If you’re using DAKboard’s free version, the layout will be predefined
- Hit save and close the pop-up only when the device has been added successfully
- Click on the three dots at the top-right corner of your device listing and a drop-down menu will open
- Select the ‘info’ option and copy down the URL given
Finally, you’ll have the DAKboard ready to run with the Raspberry Pi.
- First, install the DAKboard OS specially made for Raspberry Pi by downloading the image. It’ll need access to a Google Drive account.
- Connect the microSD card to the PC or laptop so it acts as a drive
- Then, download Etcher, which helps flash OS images to SD cards safely. Run the application.
- Unzip the downloaded image file and transfer it directly to the microSD card by clicking Flash!
- Integrate the microSD card into the slot available in the RasPi circuit board
- Connect with a power supply cable to run it effectively on the DAKboard
- Plug in the HDMI cable to run a web browser on your TV or an ethernet cable for easy editing on a Windows laptop
- If you know how to program, you could also run a few commands and use the URL you copied to show the DAKboard on the Raspberry Pi display
Is There a DAKboard Touchscreen?
In short, no. DAKboard is not a touchscreen display.
However, it connects to WiFi, so the display can be handled remotely from anywhere in the world through a mobile phone, tablet, laptop, or PC.
Also, the wall calendar, photo display, scheduled events, and to-do lists are editable. The configurations can also be personalized to fit according to the user’s aesthetics i.e. in the portrait or landscape mode.
So, while the DAKboard is limited by its lack of touchscreen capability, it offers much more than a simple digital device can.
Can a DAKboard Be DIY’ed Using Raspberry Pi?
Yes, a DAKboard can be made using a Raspberry Pi. Here’s how:
First, choose a RasPi model that is compatible with the DAKboard OS:
- Raspberry Pi Zero 2W
- Raspberry Pi 3A+
- Raspberry Pi 3B
- Raspberry Pi 3B+
- Raspberry Pi 4B
Then, select a display screen that fits your preferences for the DAKboard. Make sure it is an HD screen with an HDMI slot.
- For easy configuration of sleep schedules, look for CEC displays
- If you need a screen you can view from all angles of the room, choose IPS displays
Finally, get a microSD card (preferably one that has at least 8GB of storage) and install the DAKboard OS onto the SD card. Slot in the SD card and connect the HDMI cable to the display screen and the RasPi, and you have a DAKboard ready.
Frequently Asked Questions:
Does DAKboard cost money?
Yes, a DAKboard costs around $5 per month on a 30-day billing or $4 per month when billed annually. It also offers potential customers a 30-day free trial where they get 1 screen with factory-set screen layouts, a digital calendar, a photo wall, news reports, and weather forecasts.
How do you edit a DAKboard?
DAKboard recently added a live-content layout editor in its web interface which allows users to view their custom-designed wallpaper on any digital device before uploading it to the DAKboard display. With this editor, users can easily align and size their display as they’d like to see it appear on the DAKboard wall.
Can I use my laptop as a monitor for Raspberry Pi?
Yes, you can use your laptop as a monitor for Raspberry Pi. All you need is an ethernet cable. Simply connect the small-board computer with the Windows laptop using the ethernet cable and it’ll run effectively.
Is DAKboard secure?
Yes, DAKboard is as secure as any digital device out there. The data is encrypted and the user’s account is protected by a password that should be remembered at every sign-in, but the wall display is still prone to unauthorized access. The company recently reviewed its privacy policy to offer better security to users.
Final Thoughts
Whether you’re looking to upgrade to a ‘smart’ lifestyle or turn a boring wall interactive, DAKboard is just what you need. Now that you know all about how to set it up and get the maximum benefit out of it, you can install a DAKboard Raspberry Pi in your home.

Claudio Sabato is an IT expert with over 15 years of professional experience in Python programming, Linux Systems Administration, Bash programming, and IT Systems Design. He is a professional certified by the Linux Professional Institute.
With a Master’s degree in Computer Science, he has a strong foundation in Software Engineering and a passion for robotics with Raspberry Pi.